How-to
How to diffuse curly hair with a hair dryer
Published
Short answer
A diffuser is a wide bowl-shaped attachment that spreads a dryer's airflow so curls dry with less disturbance. Apply styling product to wet hair, set the dryer to low airflow and low to medium heat, cup sections into the bowl, lift toward the scalp, hold, then release. Avoid touching curls until they are fully dry, then finish with cool air.
Dryers and stylers for this
All 7 picks compared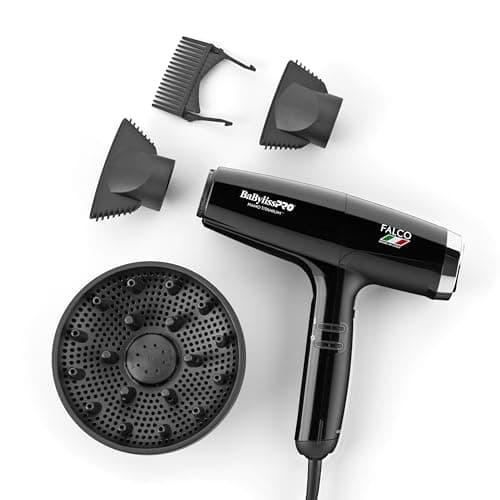
BaBylissPRO Falco: extra-large diffuser and comb, 2000W
See price on AmazonSee it on Amazon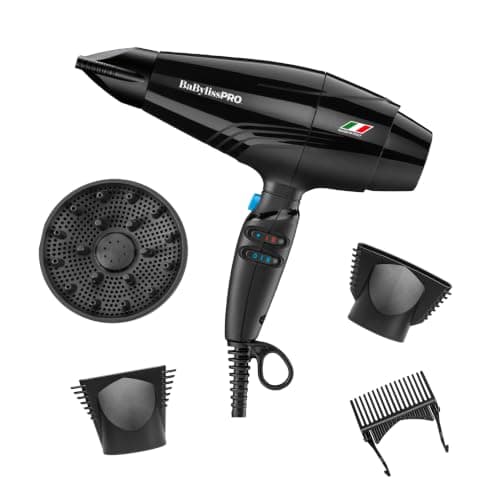
BaBylissPRO Rapido: diffuser, 6 settings, 0.91 lb
See price on AmazonSee it on Amazon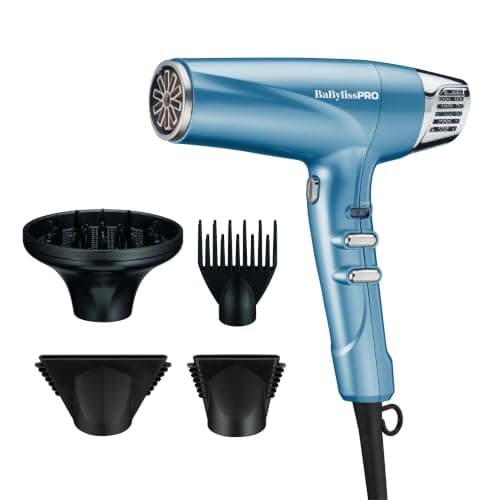
BaBylissPRO Dual Ionic: diffuser, 9 settings, ions on/off
See price on AmazonSee it on Amazon
This page is for anyone with wavy, curly or coily hair who wants a defined, dry result faster than air drying. It explains what a diffuser is, how it differs from a concentrator, the settings that typically work, two common techniques (cupping and hovering) and how to avoid the frizz that comes from moving hair around while it dries. If your dryer did not come with a diffuser, see our hair dryers for curly hair guide for models that include one.
What a hair dryer diffuser does
A diffuser is a round attachment with a wide bowl and, on most designs, prongs or fingers inside. It spreads the air coming out of the nozzle over a large area and slows it down. That softer, wider airflow dries curls without blowing them apart, so the curl pattern that formed when the hair was wet has a better chance of staying grouped.
A concentrator is the opposite: a narrow slot that focuses air into a strong jet for smoothing with a brush. Using a concentrator or no attachment on curly hair usually separates curls and lifts the cuticle, which shows up as frizz. Our hair dryer attachments explained page compares all the common nozzles.
Concentrator
Narrow jet for smoothing with a brush
Diffuser
Wide, soft spread for curls
Wide-tooth comb
Air flows through the teeth to stretch curly and coily hair
Smoothing nozzle
Wide, flat, gentler airflow for finishing
Settings that typically work
Low airflow is the most important setting. High airflow pushes curls around even with a diffuser. Heat is more flexible: low to medium is common guidance for curly hair, and medium can help coily or thick hair dry in a reasonable time. If your dryer has several heat steps, start one step below the middle and adjust.
Wavy (2A to 2C)
- Airflow
- Low
- Heat
- Low to medium
Curly (3A to 3C)
- Airflow
- Low
- Heat
- Low to medium
Coily (4A to 4C)
- Airflow
- Low to medium
- Heat
- Medium
Fine or color-treated
- Airflow
- Low
- Heat
- Low
| Hair | Airflow | Heat |
|---|---|---|
| Wavy (2A to 2C) | Low | Low to medium |
| Curly (3A to 3C) | Low | Low to medium |
| Coily (4A to 4C) | Low to medium | Medium |
| Fine or color-treated | Low | Low |
Note.These are typical ranges, not rules. Check your dryer's manual for its own guidance, and use the Heat setting guide tool for a quick suggestion.
Step by step: the cup and lift method
This is the method most stylists teach and the one the Bio Ionic SMART-X listing describes: start at the ends, scoop the hair into the diffuser and move up toward the roots. Work slowly. The goal is to dry each section in place without rubbing or shaking it.
1 Cup
Let a section fall into the diffuser bowl.
2 Raise
Lift the bowl toward the scalp.
3 Hold, then release
Hold for a few seconds, then lower the bowl away.
- Low airflow
- Low to medium heat
- Do not touch while drying
- 1
Apply your leave-in and styling product to soaking wet hair, then gently scrunch out excess water with a microfiber towel or T-shirt.
- 2
Attach the diffuser and set low airflow and low to medium heat.
- 3
Flip your head to one side or forward. Let a section of hair fall into the diffuser bowl.
- 4
Raise the diffuser slowly toward your scalp so the curls fold up into the bowl.
- 5
Hold for 30 to 60 seconds, then lower the diffuser and move to the next section without rubbing.
- 6
Repeat around your head. Switch to hover diffusing once hair is about 70 to 80 percent dry.
- 7
Finish with the cool or cold shot over each area, then scrunch out any product cast once hair is completely dry.
Hover diffusing for less frizz
Hover diffusing means holding the diffuser a few inches away from the hair and moving it slowly, without touching the curls at all. It takes longer but disturbs the hair the least. Many people cup and lift for the first half of the dry, then hover for the rest, especially on the crown and around the face where frizz shows most.
Pick one method per area and avoid switching back and forth. Every time hair is moved while damp it can break up a curl clump. If you still get frizz, look at our frizz after blow drying fixes.
Diffusing with a Dyson or a multi-styler
Dyson sells diffusers for the Supersonic family, and the Airwrap curly and coily kits include a diffuser of their own. On the Supersonic Nural, Dyson notes that Pause detect is always on unless a diffuser attachment is connected, so the dryer will not cut heat when you hold still under a section. For tool choice, our Dyson hair dryer guide and the Airwrap on curly hair article cover the options.
Any dryer with a well-fitting diffuser and a true low airflow setting will do the job. Look for a deep bowl on long or very curly hair, since a shallow bowl holds less hair per cup.
Common diffusing mistakes
Small changes fix most problems. Check this list if your curls come out flat, stretched or fuzzy.
- Airflow too high: drop to the lowest speed.
- Touching curls while they dry: let them set, then scrunch at the end.
- Too little product: curls need something to hold their shape as they dry.
- Stopping at 90 percent: damp roots often frizz as they air dry later.
- Diffusing only the ends: lift to the root for volume and even drying.
Frequently asked questions
What is a hair dryer diffuser? It is a wide attachment that spreads and slows a dryer's airflow so curls and waves dry with less disturbance and less frizz.
Can I use a diffuser on straight hair? Yes, for a soft, textured or tousled finish, but it will not create curls. For smooth straight hair a concentrator works better.
Should I diffuse on high heat to save time? Typical guidance is low to medium heat. Higher heat may dry faster but makes frizz more likely. Low airflow matters even more than heat.
How long does diffusing take? It depends on length and density. Shoulder-length curly hair often takes 15 to 30 minutes, and longer or thicker hair can take more.
What you need for this
- See price on AmazonAmazon
BaBylissPRO Falco: 2000W digital motor, 4 attachments
 See price on AmazonAmazon
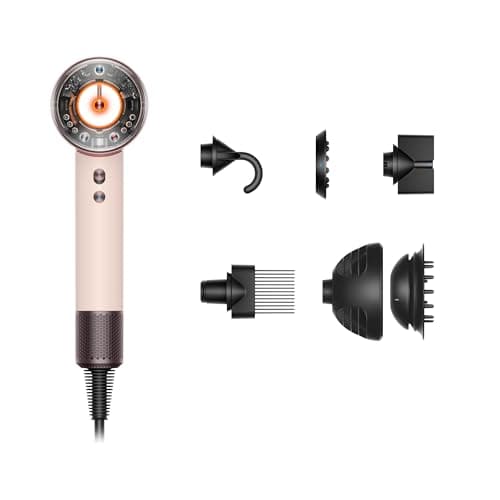
Dyson Supersonic Nural: scalp protect mode at 130°F
From Best Dyson hair dryer: Supersonic Nural, r, Origin and Travel
 See price on AmazonAmazon
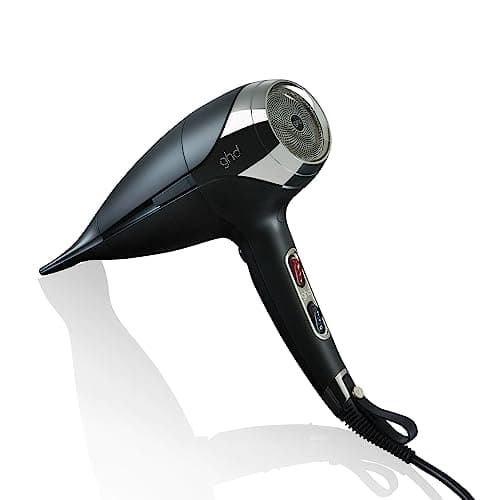
ghd Helios: 1875W brushless, 75 mph, 9 ft cord